
GEAR REVIEW
Marumi M100 Square Filter System — Choosing a Graduated ND
You photograph a sunset, get home, look at the files and your heart sinks. The sky is pure white, or the foreground is pure black, one or the other. That is probably the commonest failure in landscape photography, and the cause is not your skill: it is that the range of brightness in front of you is wider than the camera can record in a single frame. This review is about a tool for narrowing that range before you take the picture — the square graduated ND filter.
As an Amazon Associate, Ikebanadoctor earns from qualifying purchases. If you buy through these links, a small part of the sale helps support our work — at no extra cost to you. We only feature tools we genuinely use and can wholeheartedly recommend. These links point to Amazon Japan, where these items are sold.
A blown highlight cannot be fixed afterwards
First, let me set out why there are situations that post-processing cannot cover. Expose for the sky and the ground sinks to black; expose for the ground and the sky blows out to white. Of those two, the side that has sunk to black lifts a long way from a RAW file, but the side that has blown out does not come back. Blowing out means the tonal scale has hit its limit and everything there has become the same white — there is no information left in it.
So the basis of exposure at sunset is to protect the sky. What I wrote in Morning Mist and the Magic Hour — that a sunset gives deeper colour if you pull the exposure down — and what I wrote in Tripods and Night Photography — do not let the right-hand end of the histogram pile up against the wall — are the same point in two forms.
Protect the sky, though, and now the foreground sinks. The graduated ND is the tool that switches the thinking from "lift the darkened foreground" to "darken only the over-bright sky, before the exposure is made".
Landscape photography is a conversation with the sun. Backlight, hard sunlight, a sky washing out to white — whatever the light does, the Marumi M100 square filter kit I use answers it.
― IkebanadoctorMore on technique and gear
The same tools, the same light. Read on and the craft joins up.
Why square?
A graduated ND is a single sheet of glass or resin that is dark on one side and clear on the other. Lay the dark side over the sky and the clear side over the ground, and the sky alone is darkened while the foreground stays as it was. The difference in brightness you can see is narrowed in front of the lens.
The difficulty is that the line between bright and dark falls in a different place in the frame for every landscape. Some days the horizon sits a third of the way up; other days it runs through the middle. With a screw-in round filter the transition is fixed at the centre of the lens, and you end up bending the composition to fit the filter.
A square system lets you slide the filter up and down in the holder, so the transition can be set to wherever the horizon happens to be. You move the transition without moving the composition — and that one point is very nearly the whole reason square filters are still used despite being expensive and bulky.
The M100 holder is magnetic and snaps onto the ring on the lens. That is more practical than it looks. The best few minutes of a sunset really are over in a few minutes. In a situation where the colour changes while you are still turning a thread, being able to decide in one second whether the filter goes on or comes off matters as much as the optical performance of the glass. It is the same point I made in the tripod review — a tool you did not bring performs at zero — and a tool that arrives too late might as well not exist.
Soft GND and Reverse GND — two filters, the same strength
This is the part of the kit I find most interesting. The two graduated NDs I own are a Soft GND8 and a Reverse GND8. As the names show, the only difference is Soft or Reverse — the number at the end is the same. Which means I do not carry these two in order to choose between strong and weak. I carry them to choose the shape of the transition.
A Reverse GND is a tool with an extremely narrow use. You could say it exists only for those few minutes when the sun is touching the horizon. An ordinary GND is densest at the top, so with the sun on the horizon the brightest part of the frame lands where the filter is thinnest — the opposite of what you want. That is generally why people who photograph sunsets over the sea pick this as their second filter.
You are not choosing a strength.
You are choosing the shape of the transition.
Sunset over Tokyo Bay, in the field
Where this kit really earns its place is a sunset with the sea in it. The Tokyo Bay coast of Chiba is one of the few places within a day trip of Tokyo where the horizon opens out in a straight line. A good number of my sunset prints were made along that stretch.
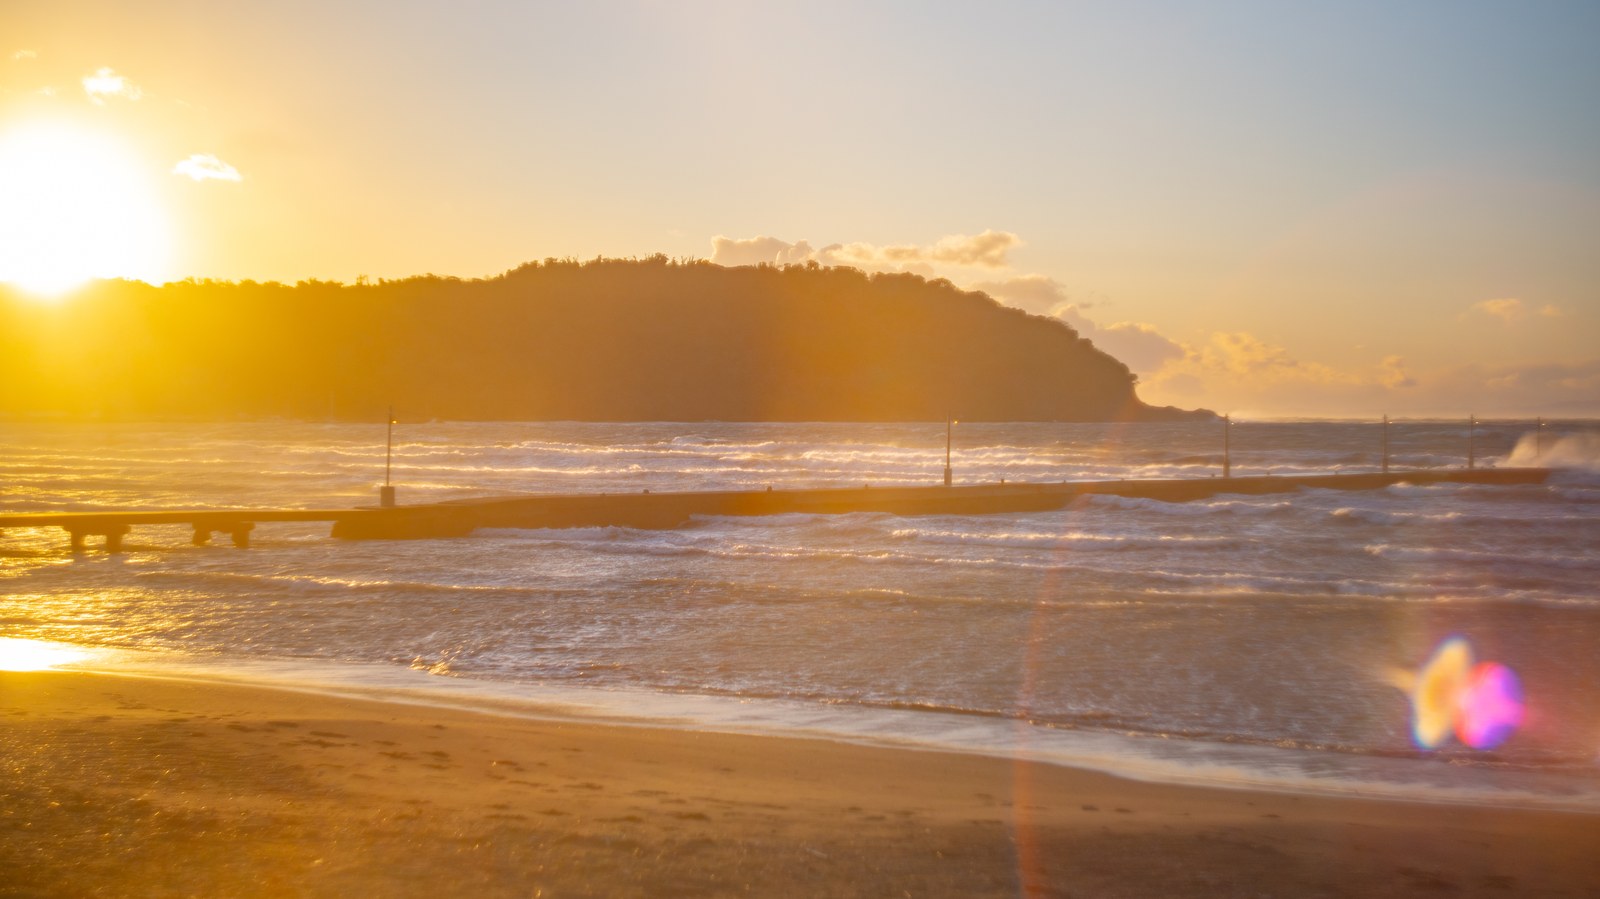
Let me be straight about one thing, though. Which of these four was made with a GND, I cannot tell you, because I did not record it. For one of them the opposite is clearly true. Sunset at Haraoka Pier was made with the HELIOS-44-2 58mm F2, an old lens that hides neither flare nor ghosting, and I deliberately took the backlight full in the face. The veil of light and the round ghosts are both left in — a frame where the decision ran directly opposite to tidying up the contrast.
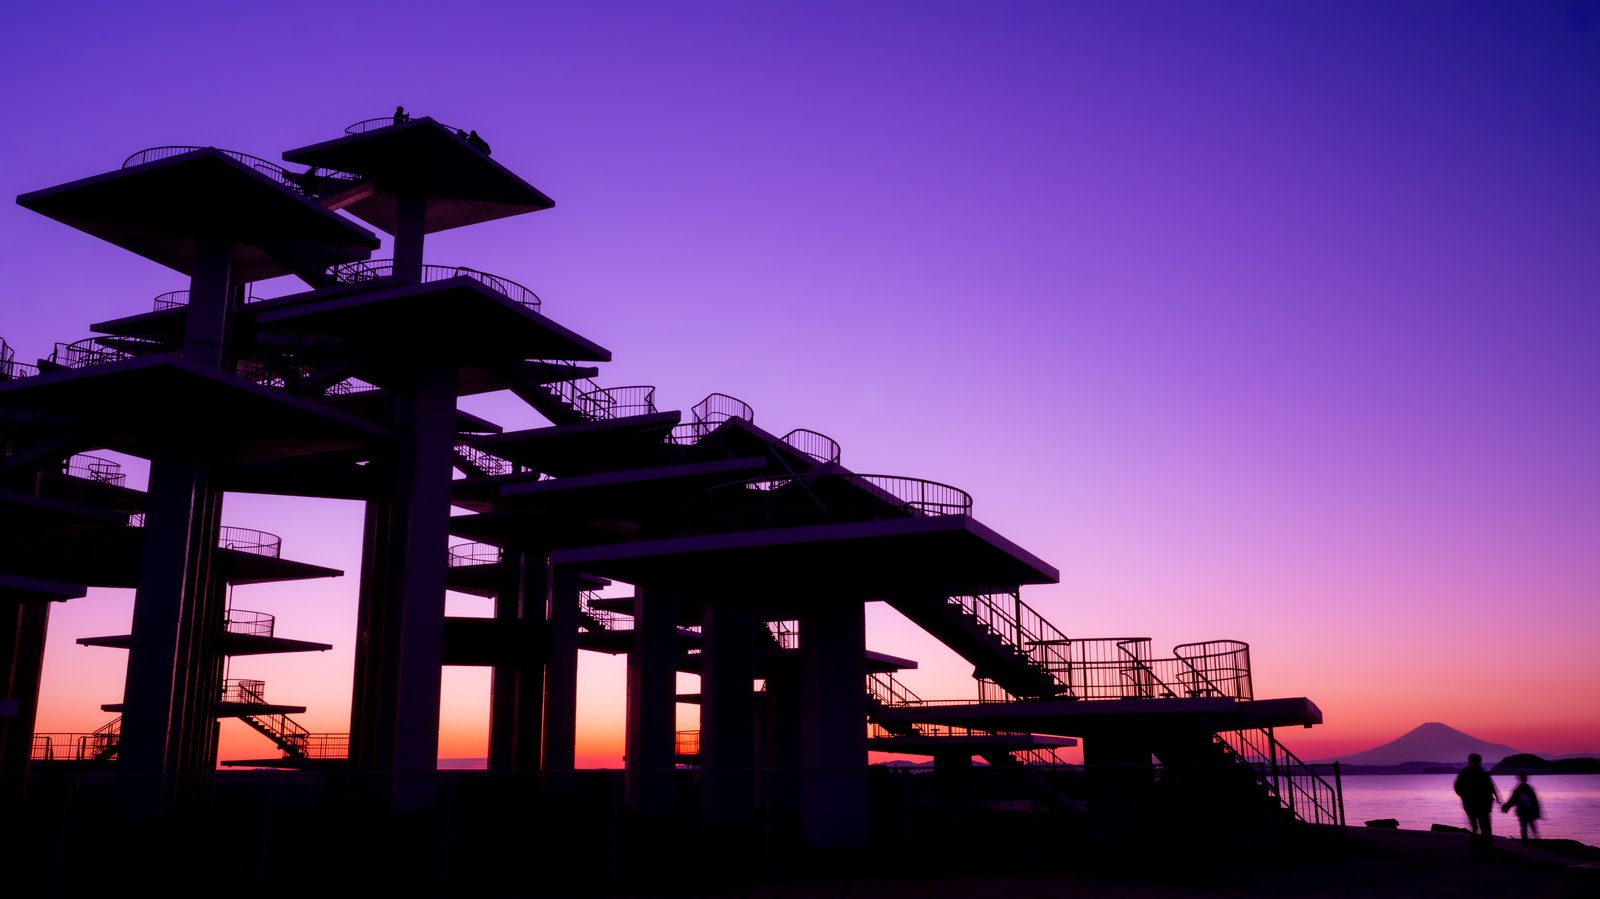
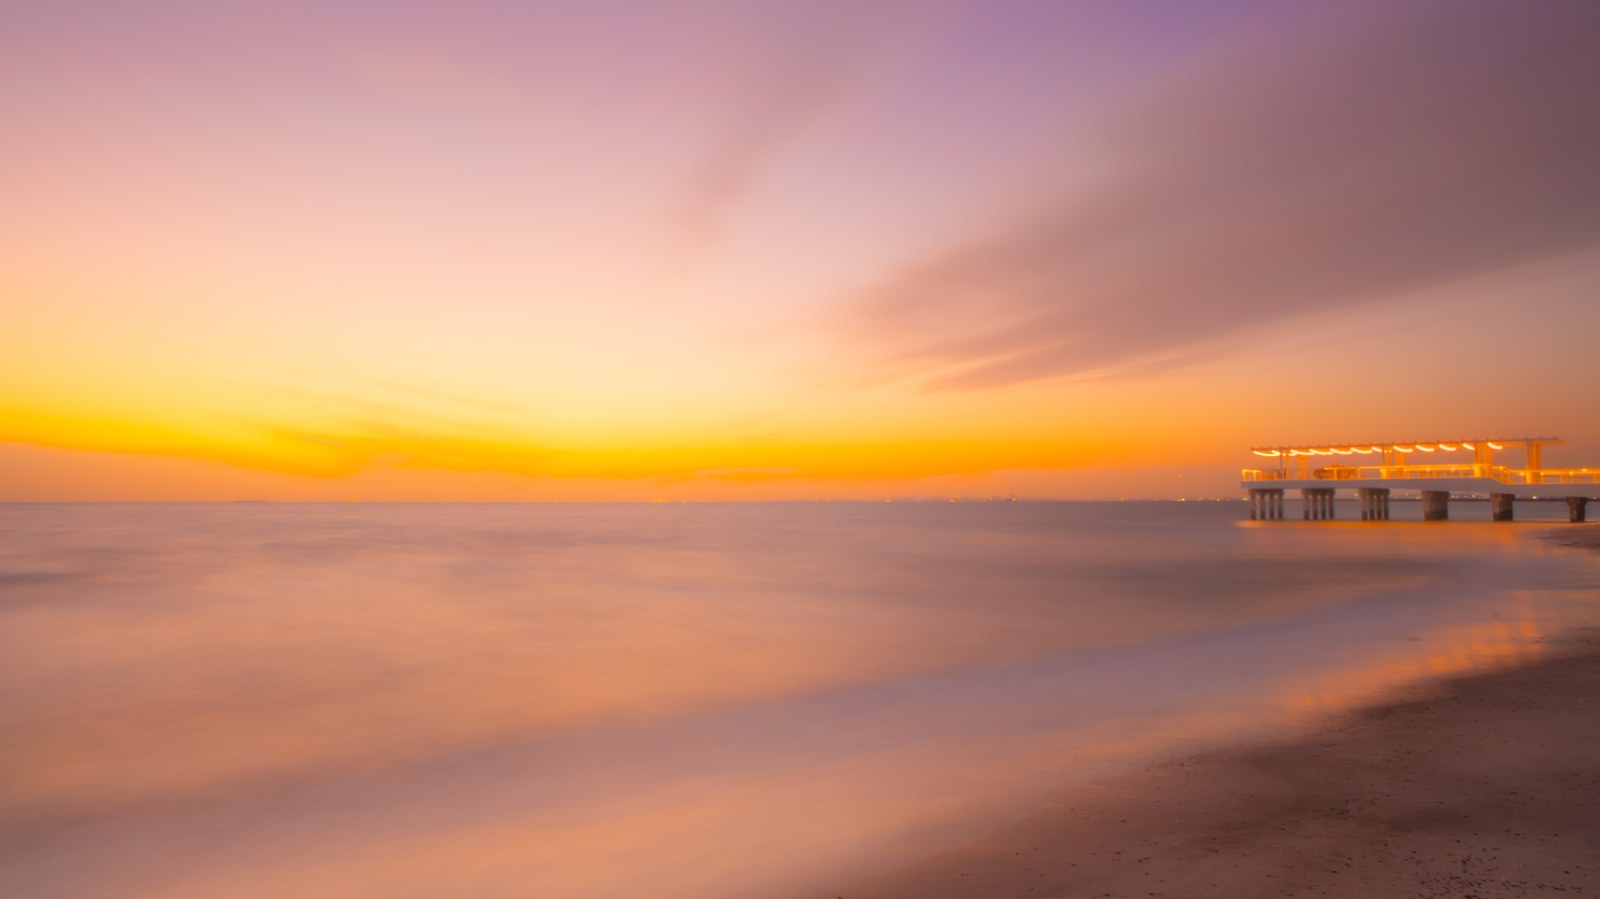
Sunset at Cape Futtsu also reads as a case where no GND was needed. The sun had already set and the tower is a complete silhouette. Once you have decided to give up the tonality in the foreground, the difference in brightness stops being a problem. That there is always an answer other than "tidy it up" is, I think, the most important thing to say in a review of this tool.
On the other hand, a state like Sunset at Makuhari Beach — the sun still touching the horizon while texture remains in the rocks in the foreground — does not hold together unless the contrast is narrowed. That state is exactly what a Reverse GND is made for.
Four sunsets over Tokyo Bay
The situation this tool is made for: a horizon, and light going down. All four were made on the Tokyo Bay coast of Chiba (which of them used a filter is not recorded). Delivered as silver-halide prints on FUJICOLOR's finest photographic paper.
Three ways to work without a GND
Before recommending this tool, let me set out the cases where you do not need it. There are three other ways to handle the difference in brightness between sky and ground.
The reason to carry that sheet of glass anyway comes down, I think, to one thing: you can decide the composition on the spot while looking at something close to the finished result. If you are working on the assumption that you will blend later, then in the field you are composing against an imagined "it should come out roughly like this". With the colour of the sky still present in the viewfinder, you can decide where to put the horizon and how much cloud to include by actually looking at it.
It shares a holder with the polariser
The kit also includes a C-PL, a circular polariser. The two roles are cleanly separated: the polariser subtracts reflections, the graduated ND subtracts light in particular parts of the frame. When to fit a polariser and when to take it off is covered in detail in How to Photograph Autumn Leaves, so I will not repeat it here.
One practical caution. Both the polariser and the graduated ND cut light, so stacking them drops the shutter speed appreciably. Two of them together on an evening shore takes you into speeds where handholding gets difficult. The tripod argument comes back around here too.
The downside — most days I do not use it
Let me put it honestly. This kit is not a tool that comes out often.
So on the quick, walk-and-shoot days when there is no time to set up the square system, I use a circular polariser that simply screws onto the lens. Keeping two systems is not indecision: it is because time in the field runs at two different speeds.
If you are buying
Marumi M100 square filter system, full kit
This is the filter kit I take out for landscape work. A magnetic holder combined with a C-PL, to hold down reflections, and a graduated ND, to even out the difference between sky and ground, covers very nearly everything. If you are choosing just one plate to start with: Reverse if sunsets over the sea are your main ground, Soft if you mostly shoot mountains and townscapes.
The holder needs an adapter ring to match the thread on your lens, so check your lens's filter diameter first. The full set of gear I use is collected in the gear guide.
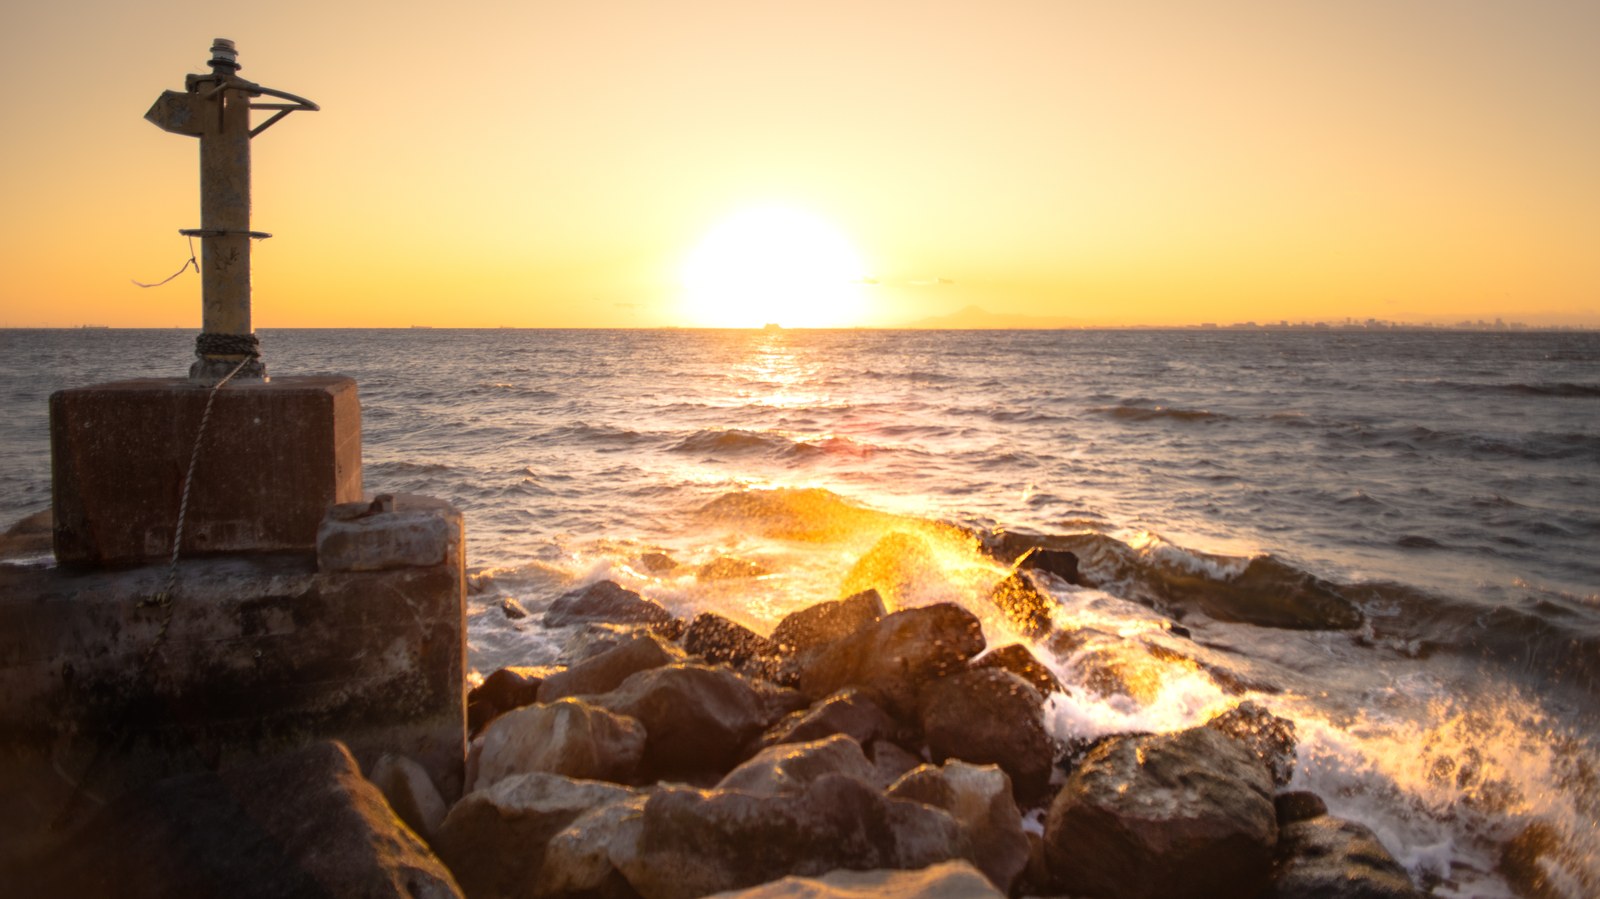
"Sunset at Makuhari Beach", the photograph at the head of this article, catches the sun touching the horizon of Tokyo Bay. Sky and sea alike turn to gold, and the spray breaking over the rocks glitters like jewellery. Delivered as a silver-halide print on FUJICOLOR's finest photographic paper.
🖼️ Choosing a frame (with inner and outer dimensions)
💾 A digital download is also available ($7.00 each). Bundles cost less: 3 for $17.84, 5 for $26.23 ($5.25 each) — mix any photographs you like.
View Sunset at Makuhari Beach →